
Why compare at all?
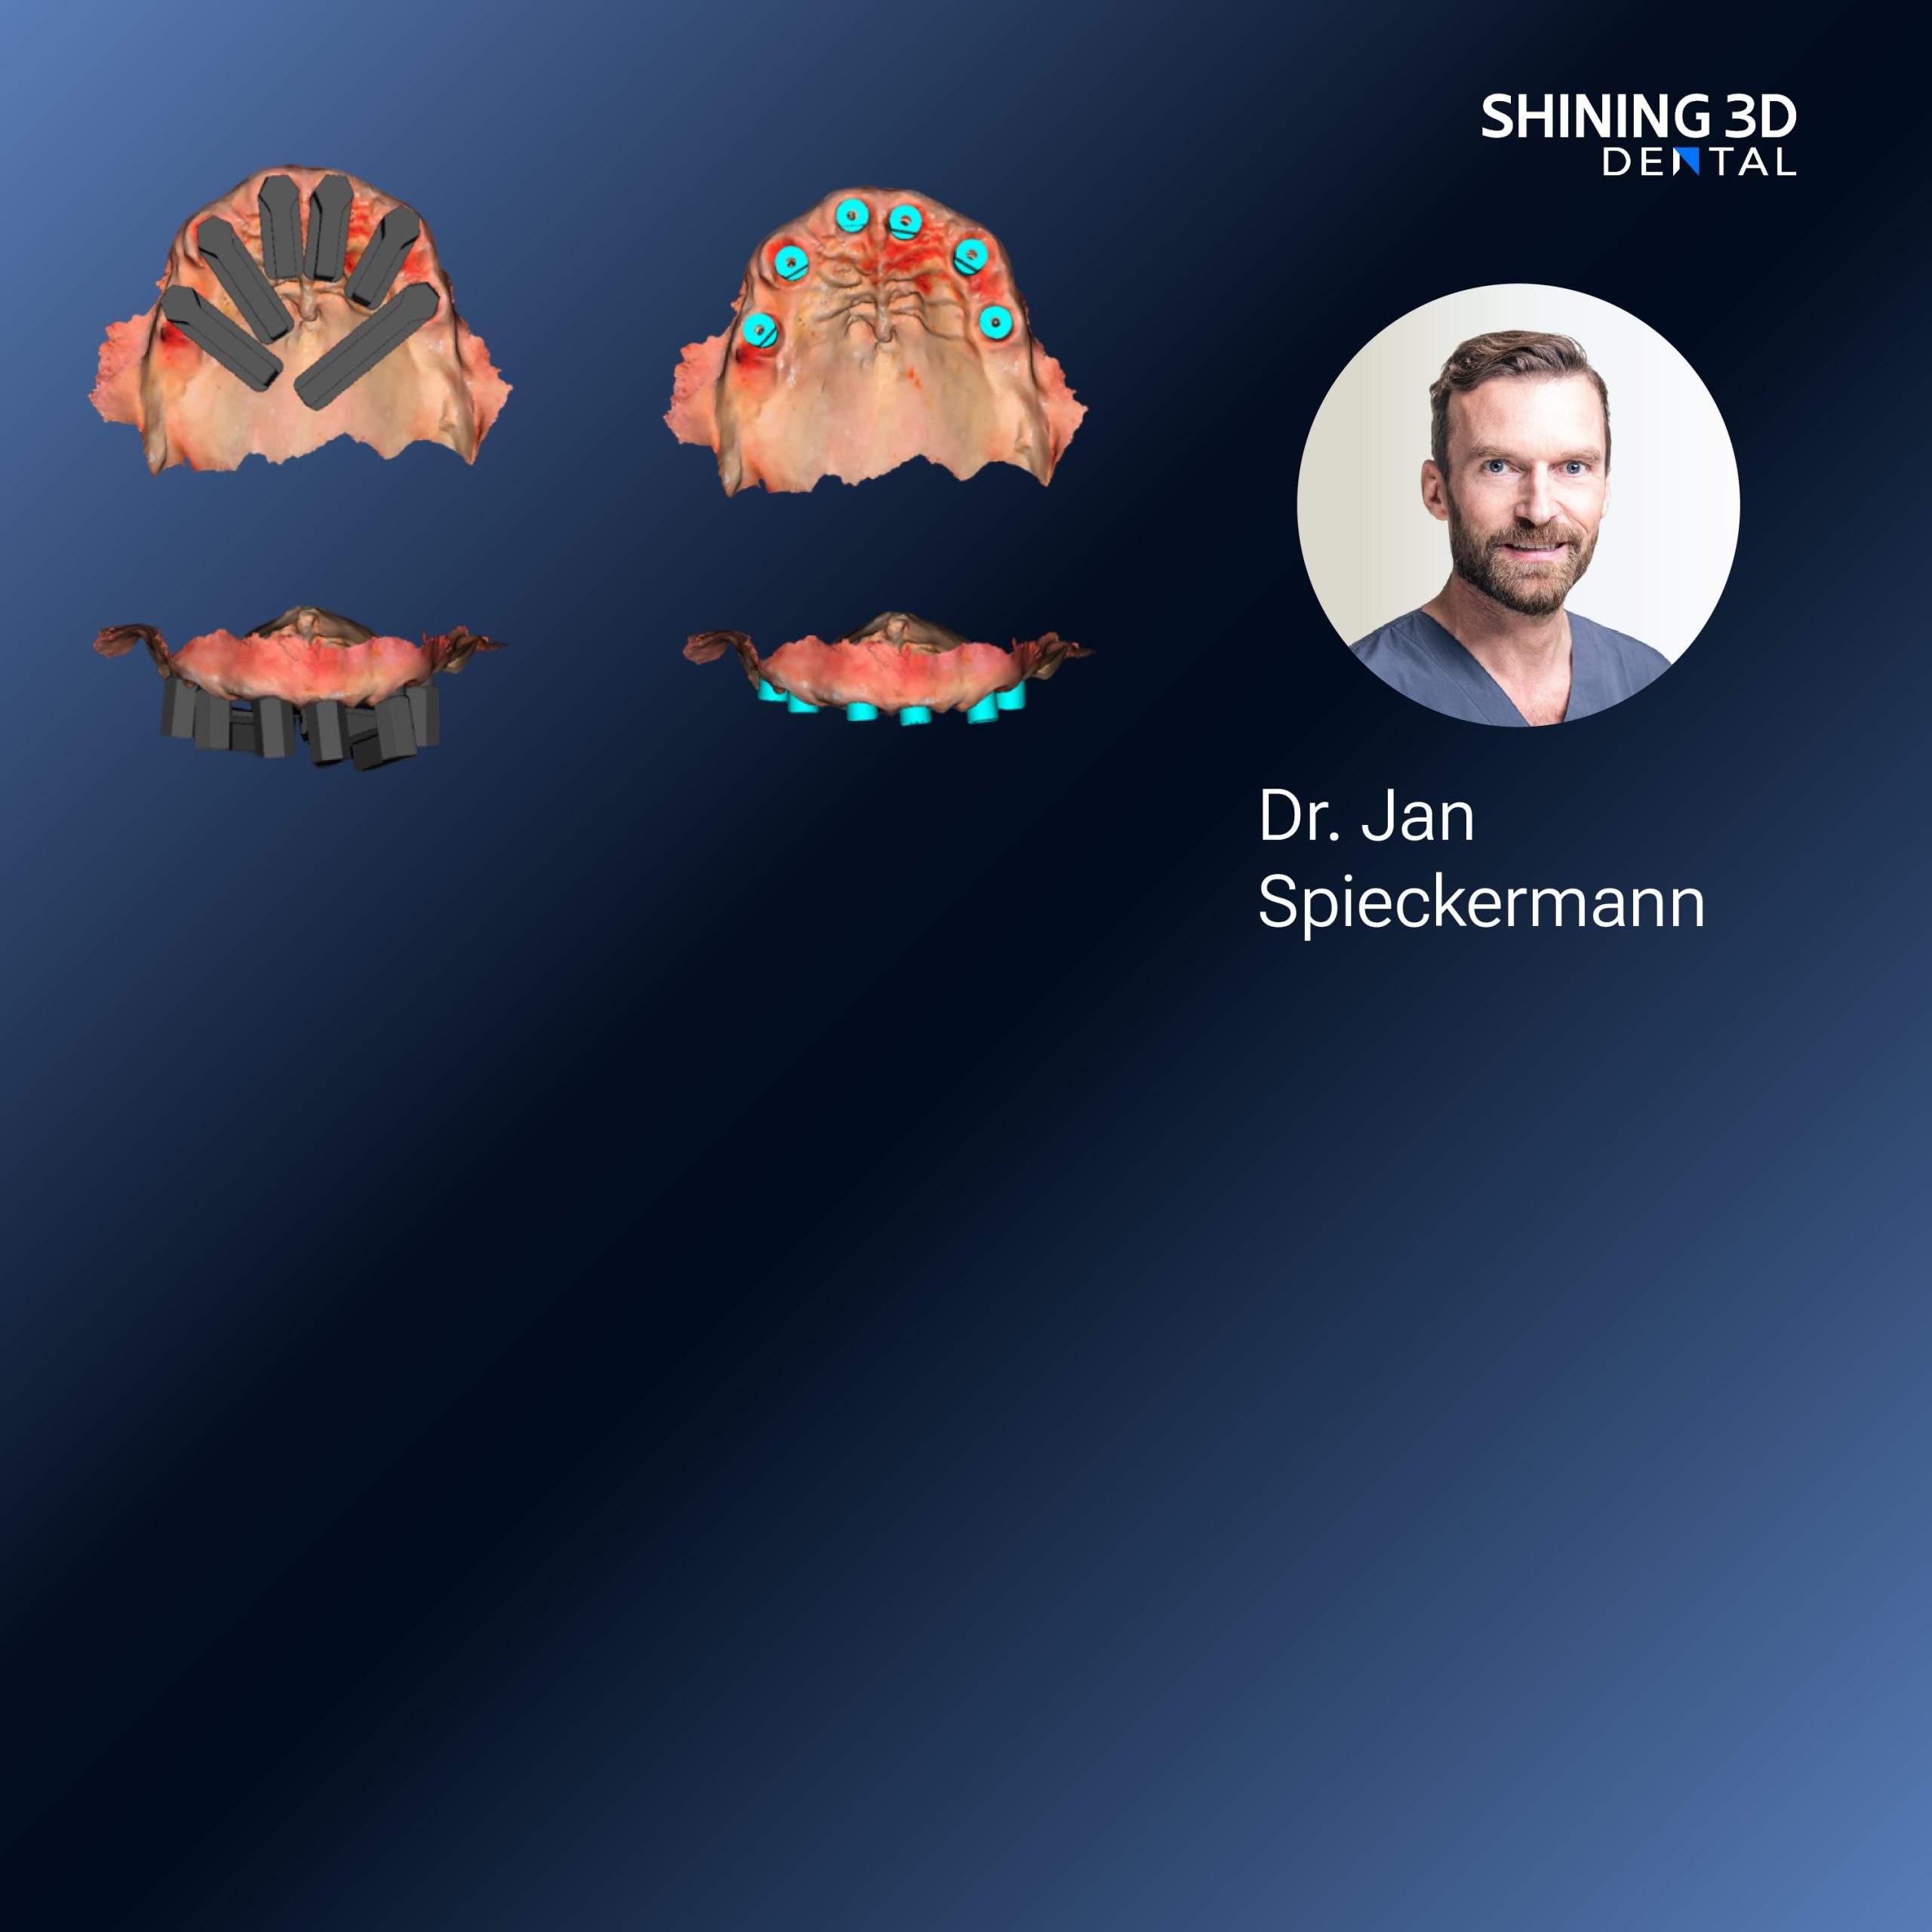
Buyers tell me they want a scanner that “just works” — which is cute, because no scanner survives contact with reality. Think of this as a head-to-head where practical checks beat glossy specs. Right away, test the machine on a real subject, not just a statue; bring along a selfie-obsessed friend or a removable denture. If you want a quick starting point, try a dedicated Photogrammetry 3D scanner and note how it handles hair, glasses, and expressions. At a busy implant clinic in Barcelona, teams shifted into clinical workflows using Photogrammetry dental implant processes to simplify prosthetic matching — that’s the kind of real-world context your tests should mimic.

Accuracy vs. Use Case — don’t be fooled by numbers
Manufacturers love microns. You should love repeatable results. Verify both point accuracy and consistency: scan the same head or skull model three times and compare deviations. Check how the scanner handles depth around the nose, lips, and perioral areas — small errors there ruin fittings. Ask for raw error maps, not just “average accuracy.” If they can’t or won’t provide repeat scans for you to examine, walk away.
Capture workflow: speed, comfort, and stitching headaches
Scan time matters: long sessions mean patient movement and wasted appointments. Time a full-face capture and note if the subject can hold still without discomfort. Watch the stitching process; does the software auto-align reliably, or do you spend minutes cleaning misaligned meshes? Test under normal clinic lighting and dim, because real clinics aren’t photo studios. Also verify whether the scanner requires markers, targets, or a manual passport of photos — fewer required aids usually equals simpler, faster workflows.

File formats, interoperability, and clinical pipeline
You’ll need open, stable file types: OBJ or PLY with color, and an export path into your CAD, intraoral scanner, or CBCT systems. Import the file into your design software before buying. Check how textures transfer; sloppy color maps make shade matching impossible. Confirm whether the scanner supports fiducial-based registration or cloud-based alignment with intraoral scans — that’s how face scans become prosthetically useful.
Alternatives compared — choose based on the job
Photogrammetry: great for full-face color fidelity and high-resolution texture; needs many images and good lighting. Structured-light: fast, accurate geometry, easier in controlled lighting; texture may be weaker. Laser-scanning: precise geometry but can be fussy with shiny surfaces. Depth-sensor (time-of-flight): cheapest and speedy, but low detail. For dental prosthetics, photogrammetry and structured-light tend to be the safer bets; if you prioritize color and skin detail for esthetics, lean photogrammetry.
Common buyer mistakes and how to dodge them
Relying only on spec sheets; not testing with live patients; ignoring software update cadence; skipping training for staff; failing to verify service terms and spare-part lead times. Don’t assume a scanner that’s great for a lab will plug seamlessly into an implant workflow. Test the whole chain: face capture → alignment with intraoral/CBCT → prosthetic design → physical try-in.
Quick pre-purchase checklist
Do these before you sign: 1) Run three repeat scans on a live subject and compare error maps; 2) Export to your CAD/CAM and confirm textures and meshes import cleanly; 3) Time a full workflow with a clinician and a technician present; 4) Ask for clinic-reference contacts or case studies; 5) Confirm warranty, software update policy, and local support response times. If any one of those fails, or they dodge the demo, keep looking.
Bottom line
Pick the device that proves itself in your workflow, not the one that looks best on paper. Practical checks — repeatability, real-patient capture, interoperability, and service — reveal which tech actually reduces chair time and remake rates. For a vendor that integrates clinical-minded photogrammetry into dental implant pathways without fuss, consider how solutions from SHINING 3D DENTAL fit into your tested checklist and clinic routines; the right tool should become part of the process, not another thing to manage.